为什么使用搜狗输入法的自定义短语
搜狗输入法的自定义短语支持长达3万个字符的长度,可以定义的空间比较大.
搜狗输入法自定义短语格式
注释
注释以英文分号开头:
例如:
单行格式
这里的数字建议使用1,这样就会出现在第1个位置,然后直接回车就可以输入了,如果设置为其他数字的话还要输入一次数字进行选择.
例如:
1
2
3
4
5
6
7
8
9
10
11
| ; Git命令集合
;
gs,1=git status
ga,1=git add .
gcm,1=git commit -m '
gcmt,1=git commit -m '更新todo页面'
gpom,1=git push origin master
gpos,1=git push origin src
gplom,1=git pull origin master
gplos,1=git pull origin master
glo,1=git log -10 --pretty=oneline
|
多行格式
1
2
| 字符串+英文逗号+数字(指定排序位置)=
多行短语
|
例如:
1
2
3
4
5
6
7
8
9
10
11
12
13
14
15
16
17
18
19
20
21
22
23
24
25
26
27
28
| ;
; 代码模板
;
ht,1=
<html>
<head>
<meta charset="utf-8">
<style type="text/css">
</style>
<script>
</script>
</head>
<body>
</body>
</html>
; Java代码模板
classj,1=
public class {
}
main,1=
public static void main(String[] args){
}
pvsm,1=
public static void main(String[] args){
}
|
时间函数
搜狗输入法开提供里一些定义好的时间函数给用户调用,函数调用格式
1
| 字符串+英文逗号+数字(指定排序位置)=#表达式
|
这些表达式全部以美元符($)开头,具体可以看帮助文档:
例如:
1
2
3
4
5
| ; 时间函数
;
date,1=#$year年$month_mm月$day_dd日
time,1=#$fullhour_hh:$minute:$second
datetime,1=#$year年$month_mm月$day_dd日 #$fullhour_hh:$minute:$second
|
关于自定义短语的命名
这个命名可以随你喜好,我喜欢用命令的首字母进行命名.也可能使用汉语拼音的首字母.
搜狗输入法中如何编写自定义短语
打开 自定义短语设置
在搜狗输入法工具条上右键,选择属性设置,然后在左侧列表中选择高级,下拉滚动条找到自定义短语设置按钮,点击这个按钮。
![图片]()
直接编辑配置文件
然后在弹出的界面中选择直接编辑配置文件,接着点击确定即可,接下来会弹出一个文本文件,在这里面编辑即可.
![图片]()
这种方式可能你重装搜狗后消失了,为了避免丢失,建议备份里面的内容.
导入配置文件
搜狗目前好像不支持导入配置文件的功能,可以复制里面的内容,在其他地方编辑,然后粘贴到上面弹出的文本文件中即可。
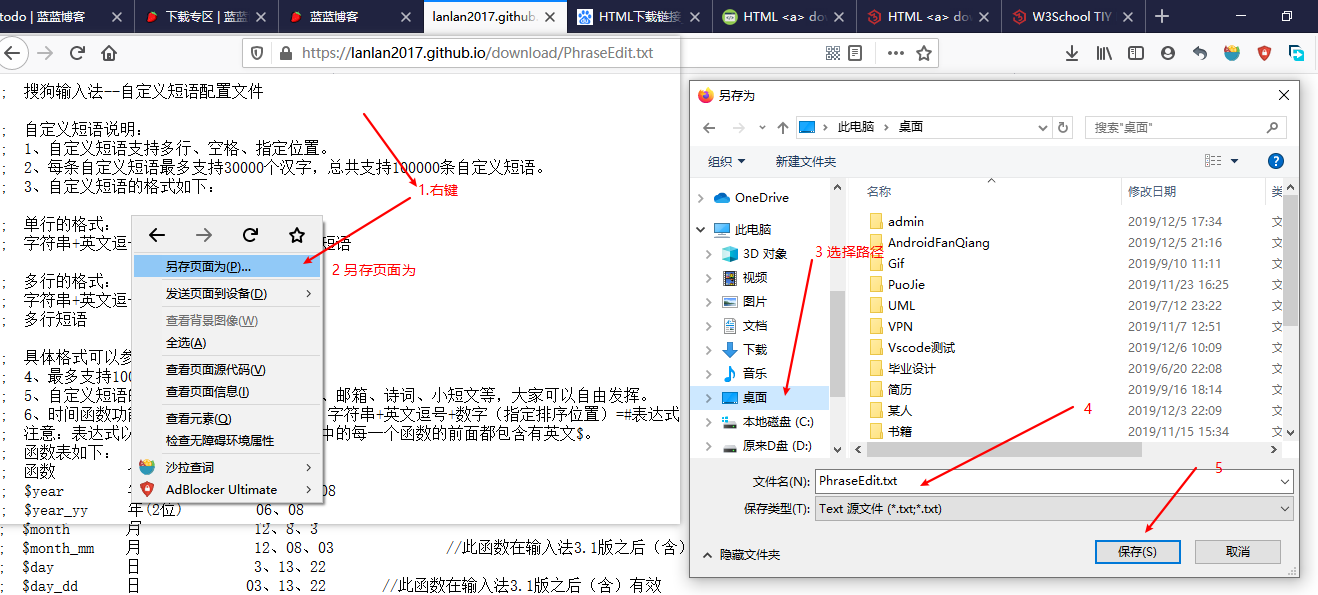
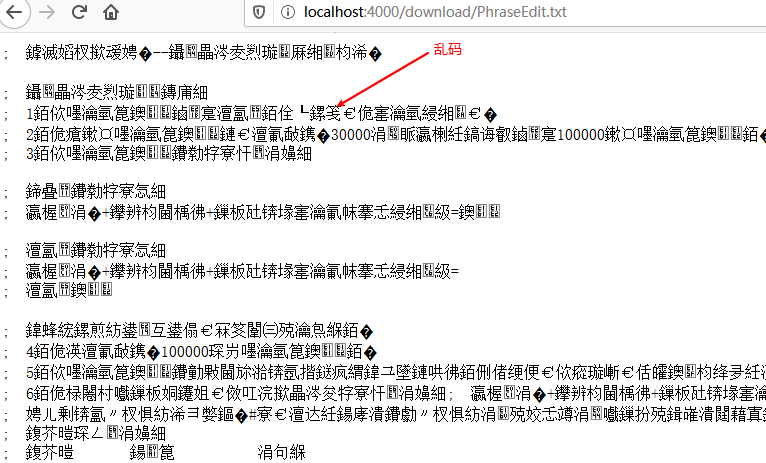
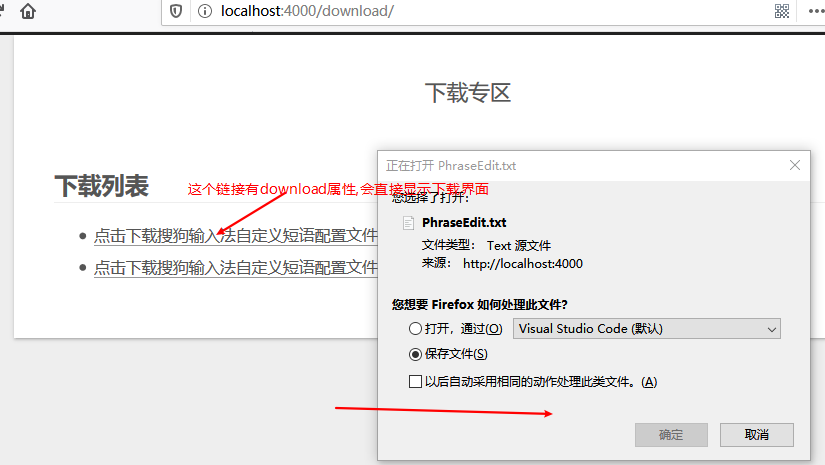
也可以进入我的主站的下载专区,然后下载:搜狗输入法自定义短语配置文件:PhraseEdit.txt这个文件.下载会得到一个PhraseEdit.txt文件.
然后打开下载好的文件,复制里面的内容,粘贴上面弹出的配置文件中即可.